How to install BuddyPress
![]() If you’re looking to install BuddyPress we offer an installation script that makes installing BuddyPress quick and easy. BuddyPress is a powerful plugin that turns WordPress into a social networking site and our installation script not only installs WordPress it also installs the BuddyPress plugin – all you need to do is activate it after setting up WordPress and you will be ready to go.
If you’re looking to install BuddyPress we offer an installation script that makes installing BuddyPress quick and easy. BuddyPress is a powerful plugin that turns WordPress into a social networking site and our installation script not only installs WordPress it also installs the BuddyPress plugin – all you need to do is activate it after setting up WordPress and you will be ready to go.
Compare our BuddyPress hosting packages
Step-by-step guide to installing BuddyPress
1. Before attempting to install BuddyPress you need to ensure that the directory you wish to install it to is empty. If you’re looking to install BuddyPress to the root directory of your site then you will 1st need to remove the default index.html file which is created automatically when hosting is set-up. To remove this file simply click on “File manager” from the your hosting control panel and open the public_html file. From here you can then delete the file.

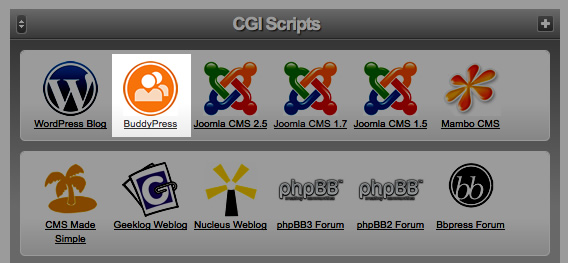
2. Once the directory you want to install BuddyPress to is empty you then need to navigate back to the main menu and click on the BuddyPress option under the scripts heading as shown below. Follow the instructions on screen to start the installation.

3. This will then start the WordPress installation where you can pick your site’s name and set-up log-in details.
4. Once WordPress has been set-up, log-in to WordPress using the details created and click on the plugins menu option on the left sidebar. From here you will see the BuddyPress plugin. Simply activate the plugin and your site is then ready to go and you will be using BuddyPress.
BuddyPress is becoming increasingly popular and for an idea of what it’s being used for you can visit the following link to BuddyPress’s site where they showcase sites currently using it – http://buddypress.org/showcase/
All our hosting packages come ready with the BuddyPress installation script so why not compare our packages to get the best price for your BuddyPress site.
